Live Desktop makes it easy to process POS transactions and keep track of orders and contacts. Any new transactions or changes made through live desktop will be saved to the CMS. Credit card information is securely stored on a different server.
You can also add new contacts, search by group or email address and manage your website CMS contacts in Live Desktop.
Live Desktop is available for all LVSYS website users, but you will need the premium eCommerce package to use the POS features.
To download the program, begin at http://help.lvsys.com/ and locate Downloads in the menu on the left. Here you will see the most recent version of the program. Follow the instructions to install the desktop on your computer. To log in, use the same admin log in and password you use for the CMS Admin Panel.
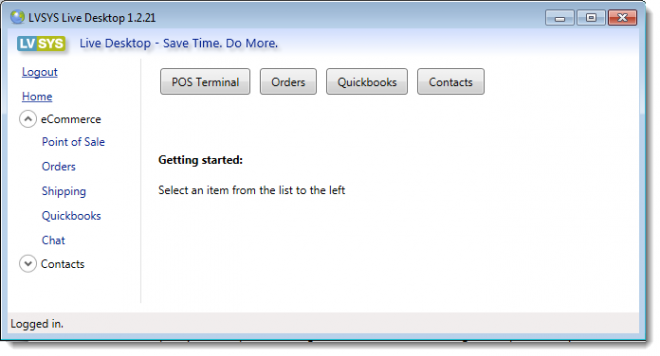
Log in Screen
From this log in screen, you can select POS Terminal, Orders, Contacts or Quickbooks from the buttons at the top or the Menu on the left.
Point of Sale
To begin a shopping cart, click on POS Terminal. The Shopping Cart screen below will open.

Click Add Item to display a list of your products, organized by category, from the eCommerce module of the CMS. Products must be added through the CMS. Click on the item being purchased and select Add to Cart. You can make changes to quantity and/or apply any applicable discounts from the Cart Items screen. Select an item from Cart Items and click Remove Items to remove an item. You can also Clear Cart and start over.
When the shopping cart contains the correct items and quantities, you can apply a Global Discount to the entire cart, if desired.
Quick Checkout
Quick Checkout can be used for credit card and cash transactions when purchased items are picked up (not shipped).
To complete a Quick Checkout transaction with a credit card payment, select Card from the Payment Method dropdown menu and click Swipe Card. Swipe the card using the card reader to obtain the payment information. The customer’s first and last name will appear. If your customer would like a receipt emailed to them, enter it next, check the email receipt box and then click Process Quick Transaction to complete the sale.
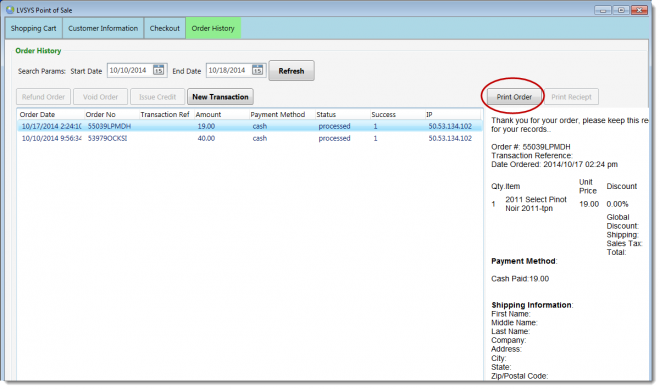
Quick Checkout also works for cash payments. Simply select Cash from the Payment method dropdown and Process Quick Transaction. After you Process the Quick Transaction, the Order History screen will open. Click on the transaction and Print Order to print a receipt from this screen.
Advanced Checkout
If the contents of the shopping cart are being picked up and paid for by either check or store credit, you must use the Advanced Checkout function. Click on Advanced Checkout and select the payment method. Enter check amount and check number or store credit amount and then Process Transaction.
Item Shipments
Advanced Checkout is also used when items will be shipped, regardless of payment method. Click Advanced Checkout from the Shopping cart screen, then Click Lookup Customer to see if your customer is already saved. If they are, click on their name and Use Contact. You can edit the contact record if necessary by clicking Add/Edit Contact.
If no contacts are found, close the Contact Lookup screen. You will return to the Check Out screen and have two options.
1- If you want to save the customer information to your contacts, click Add/Edit Contact and complete the Customer Information screen. To save credit card information for recurring charges, like club memberships, you can enter the information here. You can also add one or more Contact Groups to the customer record. Saved contacts may have stored Card Information. Click Checkout to return to the Advanced Check out screen. Click Use Card On File to used this stored information.
2- If you are not saving contact information, complete the transaction directly from the Check Out screen . Enter the required information, then select Payment Methods and Delivery Method. Click Calculate Shipping and Tax. These additional charges will be added to the total at right. Click Process Transaction to complete the order.

Quickbooks
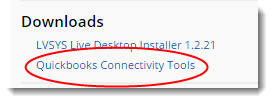
To export sales from Live Desktop to Quickbooks, you first need to download the Quickbooks Connectivity Tools from the Download menu at http://help.lvsys.com.
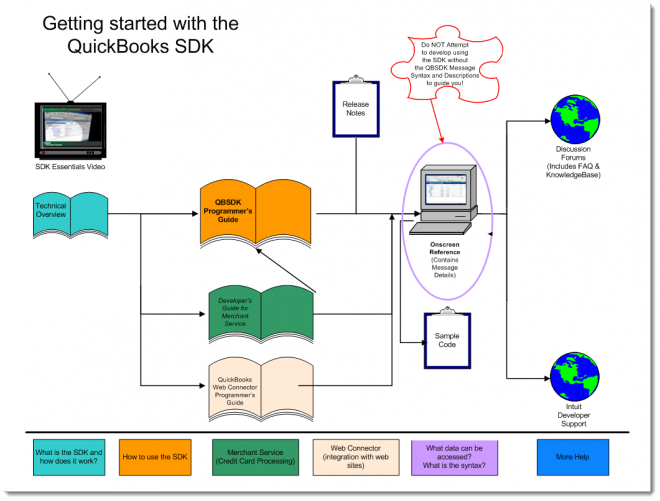
Follow the prompts to install the Quickbooks SDK. After you finish the installation, this screen will appear. You can ignore it. Close the tab and return to Live Desktop.
To export sales from Live Desktop to Quickbooks, close the POS screen and click on Quickbooks. This screen will appear.
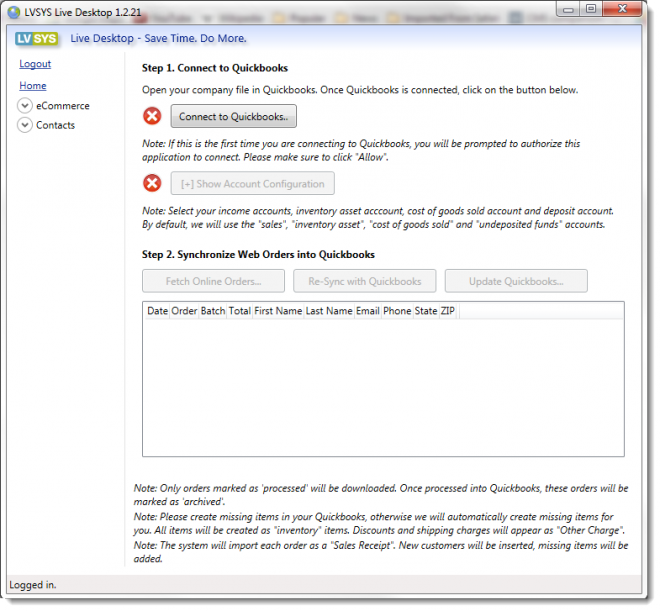
Step 1 - Connect to Quickbooks
Open your company file and click on Connect to Quickbooks. The first time you connect, the following screen will open. Select one of the Yes options and click Continue.
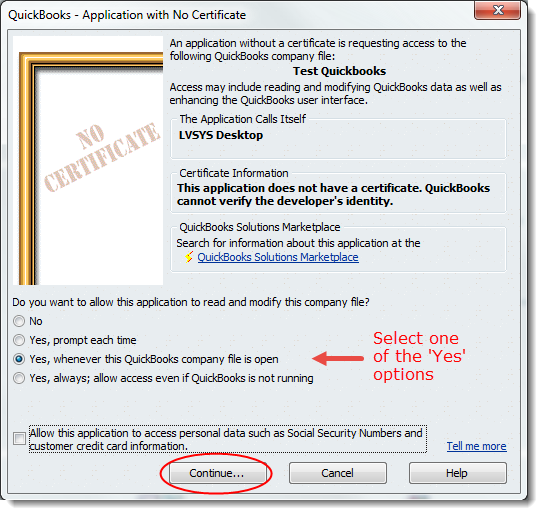
When the Access Confirmation box opens, click Done
Click on Show Account Configuration to match the Accounts with your company file.
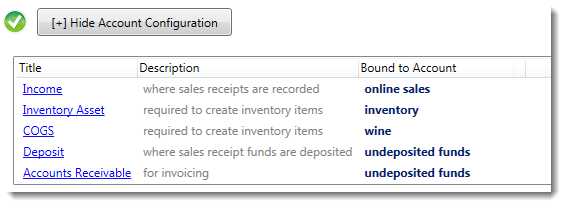
Click on each item in the Title column and select the Quickbooks account, from your company's Chart of Accounts, you will use for each item.
Step 2 - Synchronize Orders into Quickbooks

Click Fetch Online Orders and select the date range of sales you would like to sync. Click OK.
If you make any changes to your Quickbooks file after fetching orders, click Re-Sync.
Click Update Quickbooks to import your sales to Quickbooks. You will see the following list of your processed orders along with a red alert letting you know it's ok to update your Quickbook file and that Customers and Items will be added if they are not already set up.
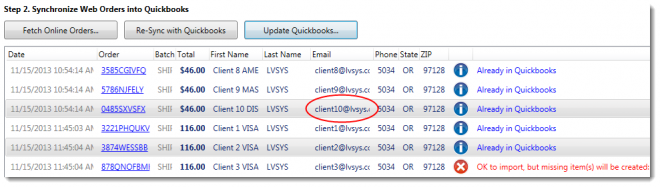
You are now ready to click Update Quickbooks and import your sales into Quickbooks.
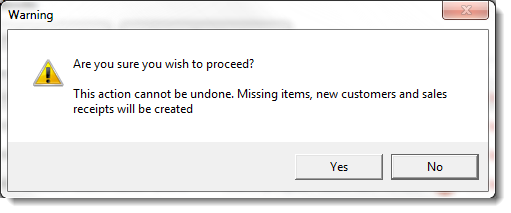
You will be asked to select the orders you want to import. For multiple selections, hold down the Ctrl key. You will see the warning message below. If you are ready to import, click Yes.
Orders will be imported and the Red X will change to a Blue I along with the message Already in Quickbooks. When you see this message, you can be certain the order will not duplicated if you decide to import additional orders.
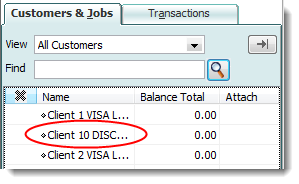
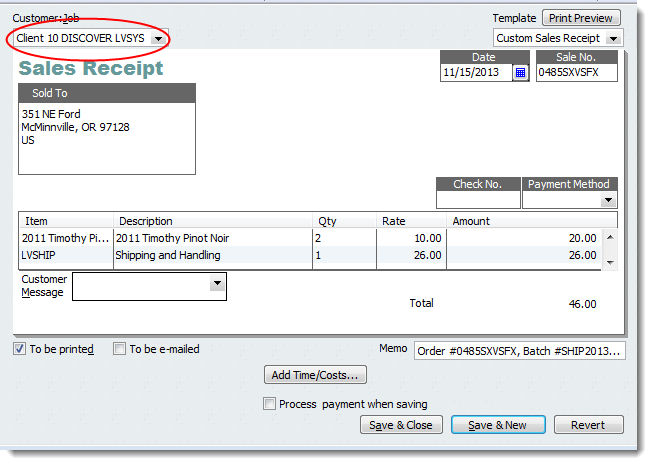
Now look at your Quickbooks accounts to see if the information was imported correctly. Each order should show up as a Sales Receipt. Shipping and Taxes will be separate items. New customers will be added to your customer list.
In these examples, you can track client10 (circled in red) from the Fetch Results in Live Desktop to the Quickbooks Customer list and corresponding sales receipt.
The order # and batch ID from the CMS Order List are noted on the receipt in Memo. The order # is also the Sale Number.
We highly recommend importing a small number of orders the first time you use Quickbooks Import to make sure everything is working properly.
CLICK for FAQ regarding Quickbooks Imports
Contacts
You can manage your contacts from the Live Desktop. Contacts include any customer who has purchased something through your website or Live Desktop. Contacts are also created when someone submits a form or comments on your website. You can add new groups to further organize your contacts. Customer, Contact, Member and Commenter are standard pre-loaded groups.