Websites that resell items can use Vendor profiles, which include text and images related to the vendor. To complete a full profile for a vendor, click Add New Vendor and complete the fields as follows:
Using the Vendor Editor
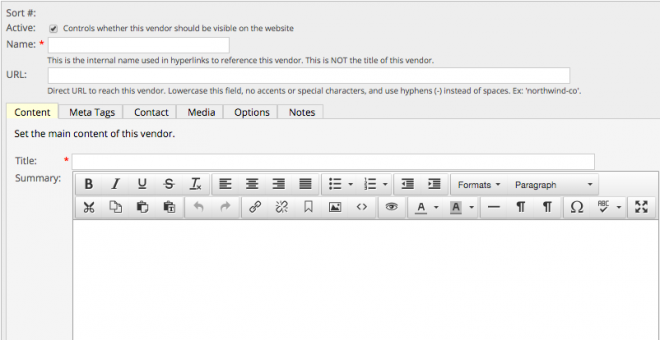
Active – Select to show the vendor on the website.
Name – Enter an internal name for the vendor. Use lower case characters and enter dashes instead of spaces. Required field.
URL - Enter the direct URL for the vendor.
Content Tab
Title – Enter the vendor’s business name. Required field.
Summary – Enter a vendor summary to display on the website.
Body - Enter a more detailed vendor description.
Meta Tags Tab
Meta Title
Meta Description
Meta Head
Products Tab
Displays the products assigned to this vendor
Contact Tab
Vendor contact information
Media Tab
Add images or video to accompany the vendor’s profile. For more information: Adding Images
Options Tab
Hide - Click to hide vendor from automatic listings
Open in Page - Override default, if desired.
Open in page with params - Add optional query params
Notes Tab
Add notes related to the vendor. Notes are for internal use only and are not shown on the website.
Using Quick Setup
Quick Setup allows you to create a limited feature vendor from the Product Editor:
- Click Add New next to the Vendor field.
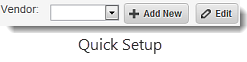
- Enter a Name and Title (see instructions above) in the dialog box, and click OK.
Existing vendors can be modified in the Product Editor screen by clicking Edit.