Top Menu Bar > Upload Files
All Tasks > Files > Images
or Upload from any Media Tab
Images must be uploaded to the LVSYS CMS before they can be used. Before you upload images you should be aware of these image tips.
- Photos must be in one of the following formats: png, jpg, jpeg, gif, ico See the complete list of allowed file formats
- Photo Name - Always rename photos before uploading. Once a photo is uploaded, the name cannot be changed. We recommend you prefix the name with the year the photo was taken, followed by a category and brief description. Example - 2012-oregon-wine-international-pinot-noir-festival-1.jpg.
- Loading Photos from a Camera/Phone - If you load photos directly from your phone or camera, you should change the Global Setting related to images. In the Web Site list under Global Settings >Media section, set the Make Photos Unique field to Yes. This automatically prefixes your photo with the current date (YYYY-MM-DD). The software allows you to upload an image with the same name as an existing image and will overwrite the existing image.
- Photo Size - For the most part, you do not need to worry about photo sizes in the LVSYS CMS. The system automatically resizes or crops uploaded photos to fit the article/page templates. We do recommend you upload images in as large a size as possible, without exceeding the constraints of about 1000 x 1000 pixels. If images are too small, pixelation may occur when the image is enlarged resulting in poor quality images.
- Editing Images - The LVSYS CMS allows you to edit images within the admin panel. Learn how to use the image editing tools to crop, rotate or scale pictures. Image Editing Tools
There are three ways to access the Upload Photo box show below.

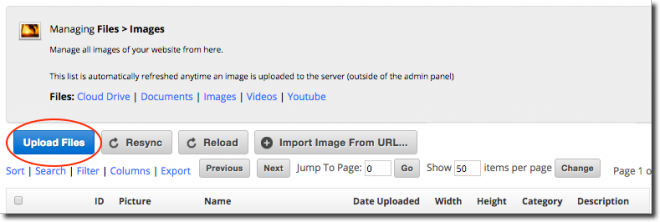
- Click on the blue 'Upload Files' Box at the top right of the Admin menu (See above)
- From All Tasks > Files > Images - Click here to Upload files (See below)
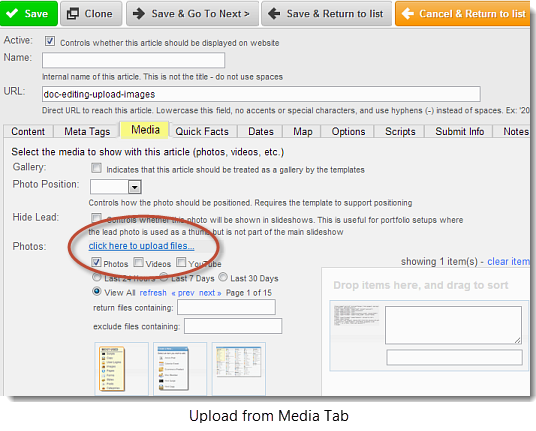
- From the Media Tab of your item - Click here to Upload files (See below)
- Drag and drop your images into the large empty box or click on the Cloud icon to browse for images. You can also upload documents here.
- Click on Images to view your newly uploaded files.
Once uploaded, items are available for use throughout your website.
Open the Media Tab for your item. The image below will appear
Attaching Images to the item
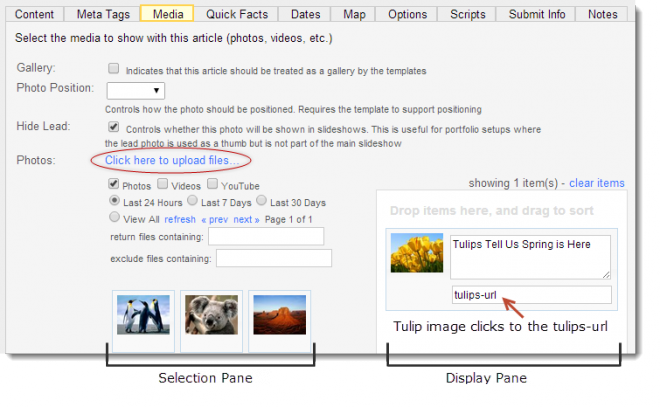
- Choose the image you want to appear from the Selection Pane and drag it to the Display Pane on the right.
- For help locating the images you want to use, click the boxes Last 24 hours, Last 7 Days or Last 30 Days to limit the number of images in the Selection Pane. Click View All to see all available images.
- You can also limit the choices by filtering images by name. For example:
- Type Flower after Return Files Containing to show only images with Flower in the name.
- Type Flower after Exclude Files Containing to show only images without flower in the name.
- If desired, enter a caption in the Caption field. Captions appear below the image. In this example, the caption reads: Tulips Tell Us Spring is Here.
- Below the caption, you will see a smaller box where you can enter a short url. The image will now be Clickable to the URL tulips-url.
- Continue dragging images, as needed, to the Display Pane. Multiple images will display as a slideshow.
Changing the Order of Attached Images
To change the display order of photos, drag them up or down in the display pane.
Removing Attached Images
- Drag the image from the Display Pane back to the Selection Pane.
- The image may appear twice in the Selection Pane, but this is only temporary. It will not create a duplicate.
Displaying Media Tab Images in List View
When you customize columns in List View, click in front of the Photo column, The first image appearing in the Media Tab will display for each item in list view. This makes it easy to find the item associated with the image.
Additional Media Tools
Refer again to the Media tab image above.
Gallery - Ignore
Photo Position - Although options exist in the dropdown menu, they may not be installed on all websites. In most cases, the templates will direct the placement of attached images.
Hide Lead - In some cases you may want to hide the lead (first) image from the slideshow displayed with the item. The lead image may use an unconventional photo size, for example tall portrait or wide landscape, and not display well with the other images used with the article.
You may want to have images appear in the body text rather in a spot determined by templates. If so, consult the article General - Lesson 2 - Embedding Images using Short Code