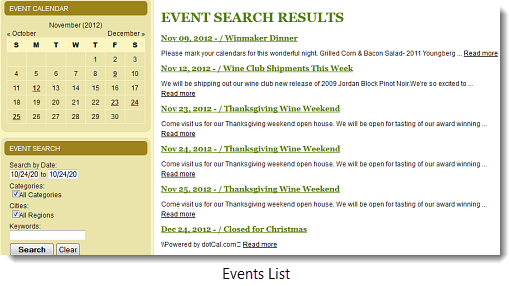
Visitors can search for and access events from a small calendar or through an events listing on your website.
To create a new event from the Events List Screen, begin in the Managing Calendar toolbar, click Add New Event.
- Active - Select to display event to the public, or deselect to hide. If you aren’t ready to publish the event yet, you can de-select the box and activate it later.
- Admin Hide - Select to hide this event in the admin panel list.
-
Name - Give your event an internal name if you like. The name should not contain spaces.
The essential tabs for creating your event are Content, Dates and Location. This article will discuss the Content, Contact, Options and Notes tabs. Reference for the Media Tab, which is used to add images to your event, can be found in All Trainings > General CMS Training. Dates and Location will be covered in Lessons 4 & 5.
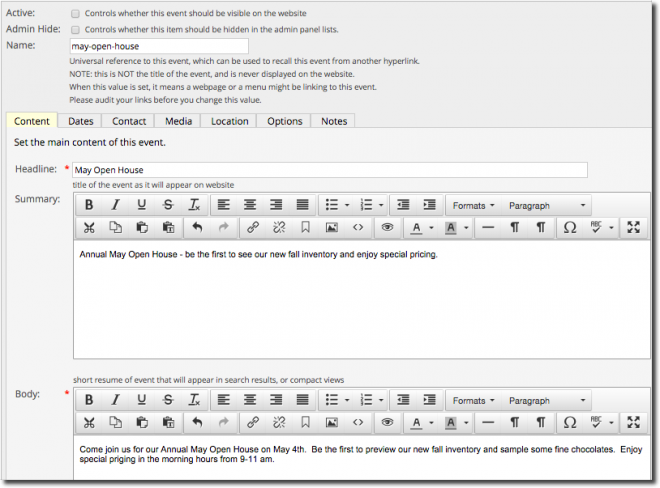
| Content Tab - Active when yellow | ||||
| Headline | Enter the title of the event you want to appear on the website – this is usually the actual event name. | All | YES | |
| Summary | Enter a summary to display in search results or compact views. If no summary is entered, the website displays an excerpt of your body text, as defined in Global Settings. | |||
| Body | Enter the event listing and details. Primary formatting is controlled by the website’s style sheets, but other formatting options are discussed in The WYSIWYG Editor | All | YES | |
|
Region |
Create and select the region where the event occurs. See Event Regions |
All | ||
| Category |
Create and select categories for the type of event your are posting. Pages on your website can be set up to display events from a specific category. See Event Categories |
All | ||
| Tag Cloud |
Tags allow you to create a relationship between articles, products, events and business listings. When directed by a template, items sharing the same tag can be displayed as Related items on your website. Read more about tag clouds here. |
|||
| Level | Differentiate events to direct how they are displayed. i.e. Premium events can be set up to display first and provide more detail. You may also assign Premium levels for paid listings. See Events - Levels | |||
SAVE
Preview your Event
You can preview your event at any time by clicking on the Preview button. It is not necessary to Save before using Preview.

In Preview mode, a new tab will open and this orange box will appear at the top. You cannot edit the event from this view, but you will be able to see how the event looks, even if it is not Active.

After you view your preview, close the tab and click back to the event edit screen to make revisions. NOTE: If you edit the article, close the Preview tab and click Preview again. You cannot refresh Preview Mode.
Entering Event Contact Information
To store and/or display contact information, enter information in the Contact tab.
Select Display to display the information with the event. You may also want to store it here without displaying it for use if questions arise.
You can include Business, Phone, Website, Email and details about the submitter for your event.

Attaching and Embedding Event Media
Easily add images, slide shows or video to an Event in the Media tab or by using short code. Images attached to the event in the Media tab display as directed by the template. Images embedded with short code can display anywhere within the body text.
For information on uploading and attaching images in the Media tab, see: Adding Images and Attaching them to items
For information on embedding images with short code, see: Embedding images using Short Code
Options Tab
Sticky - When selected, the event will always be visible.
Tags - Disregard - Deprecated
Notes Tab
You can add a memo pertaining to the event for internal use.