The Admin Panel includes all the tools you need to keep your website current and attractive. When you log in, a toolbar at the top gives you access to the buttons needed to add to and modify your website.
To get started, open your website in a new tab or window as seen by a visitor (www.mywebsite.com). Copy the address and open a second tab or window. Paste the address into the bar and add the suffix /admin, like this example (www.mywebsite.com/admin). After you hit enter/return, the log in box for the Admin Panel will appear. Enter your user name and password to log in.
After you refresh your live site, the two windows will communicate, allowing you to access admin functions from both screens. You can also view your changes on the live site immediately by viewing it after making edits and saving your changes.
For security's sake, the Admin Panel is set to time out after two hours of inactivity. You will be required to log in again.
Some browsers offer to save your password. If this is your private computer, click yes, otherwise, click no.
A brief description of the toolbar's functions follows. Begin by clicking on the All Tasks button.

All Tasks Window
The All Tasks window provides access to all module items, arranged in a logical and intuitive fashion. Tasks are conveniently presented in one pop-up window. To work on a module item, click its link in the window.
To close the All Tasks window, click the close button in the upper right.

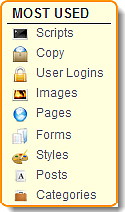
Most Used List
The Most Used section of the All Tasks window is devoted to the module items you use most frequently. This list changes dynamically to reflect your work habits. Click a link to open the item's list screen.
Close the All Tasks Window to access the top menu.
Create New Items
The Create New button lets you add a new item from commonly created items like articles, products or calendar events in just two clicks. Click the Create New button and click a link to open a new item screen.

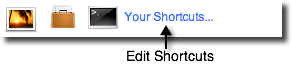
Shortcuts Bar
The customizable Shortcuts bar at the top of the admin window is another way to streamline your task list to include only the items you use most. You can create different Shortcut bars for each category of tasks you regularly perform. To add items to the Shortcuts bar:
- Click Create Shortcuts to add your first shortcut or Your Shortcuts to add additional shortcuts to Your Task Bar.
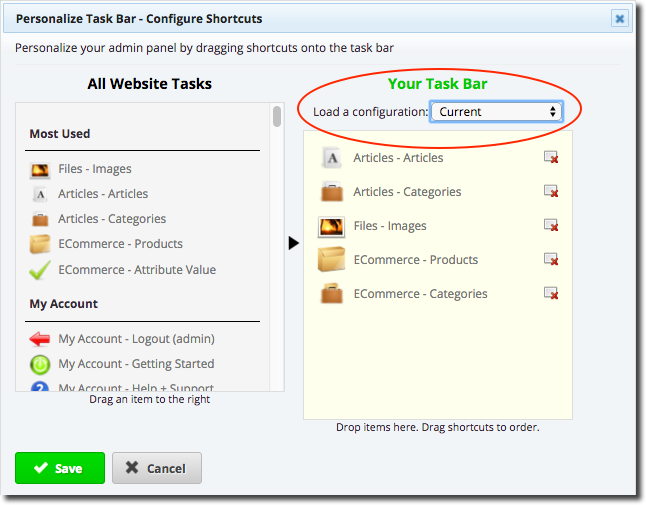
- In the Personalize Task Bar - Configure Shortcuts window, choose the Shortcut List you want to create from the dropdown menu (circled in red). Locate the desired shortcut item you want to add from the All Website Tasks selection pane on left.
- Click and drag the item to Your Task Bar on right.
- Continue dragging items to the display pane, as needed.
- Click Save.
- Select a different configuration and create more shortcut lists.
 |
Change Shortcut Buttons Order 
The shortcut buttons display in the order you selected them. To re-order your selections:
- Click Your Shortcuts to return to the configure shortcuts window.
- Hover on a shortcut in Your Task Bar until you see a crosshair.
- Click and drag the item up or down to change its order.
- Click Save when finished.
Remove a Shortcut Button from the Toolbar
To remove a shortcut button from the toolbar:
- Click Your Shortcuts on the toolbar.
- Click the Delete button (box with a red X) next to the shortcut you wish to remove.
- Save.
My Activity
![]()
My Activity tracks your admin activity history and presents chronological links to the items you have worked on.
To use My Activity:
- Click on My Activity.
- Scroll through your activity history to find the item you wish to open.
- Click on the item’s link to open it.
Related Items Links
When you open an item, links to related items display in the Editing bar. These links allow you to quickly jump from your current work to a related task. In the example below, the Article Editor displays links to Comments, Categories, Authors and more. Clicking the Categories link takes you to the Categories list screen where you can modify, copy or create a new article category.
